
You will only need about 3/4 of a yard of cotton fabric although I bought a yard just to be on the safe side. I am always afraid of making a mistake as a create something new.
I always wash the fabric before I start any project. This is important so that if there is any shrinkage, it will happen now not after your project is complete and ruin it. There is nothing worse that working so hard on something just for it to get ruined.
I started by drawing the pattern onto tracing paper and and then cutting it out. You can just measure on the fabric if you want.
Here are the pieces that I made:
Main Pocket - 16" x 9 1/4" - cut 2
Front Pocket - 10 1/4" x 9 1/4" - cut 1
Binding - 2 1/2" x 13 1/2" - cut 3
Short Strap - 8" x 4 1/4" - cut 1
Long Strap - 16" x 4 1/4" - cut 1

You will also need a parachute clip and matching thread.
After I got all the pattern cut out, I pinned it to the fabric and made my cuts.

 I began by making the straps. I took the short strap and ironed it. I folded in long ways and ironed a crease in it. I then folded the long sides into the middle and ironed it down. Finally, I folded those into those in to make a this strap. Fold the short ends in 1/4" to finish the ends. I repeated the process with the long strap.
 Once you have the straps folded and ironed, you will need to sew the open three sides together on the long and short strap.


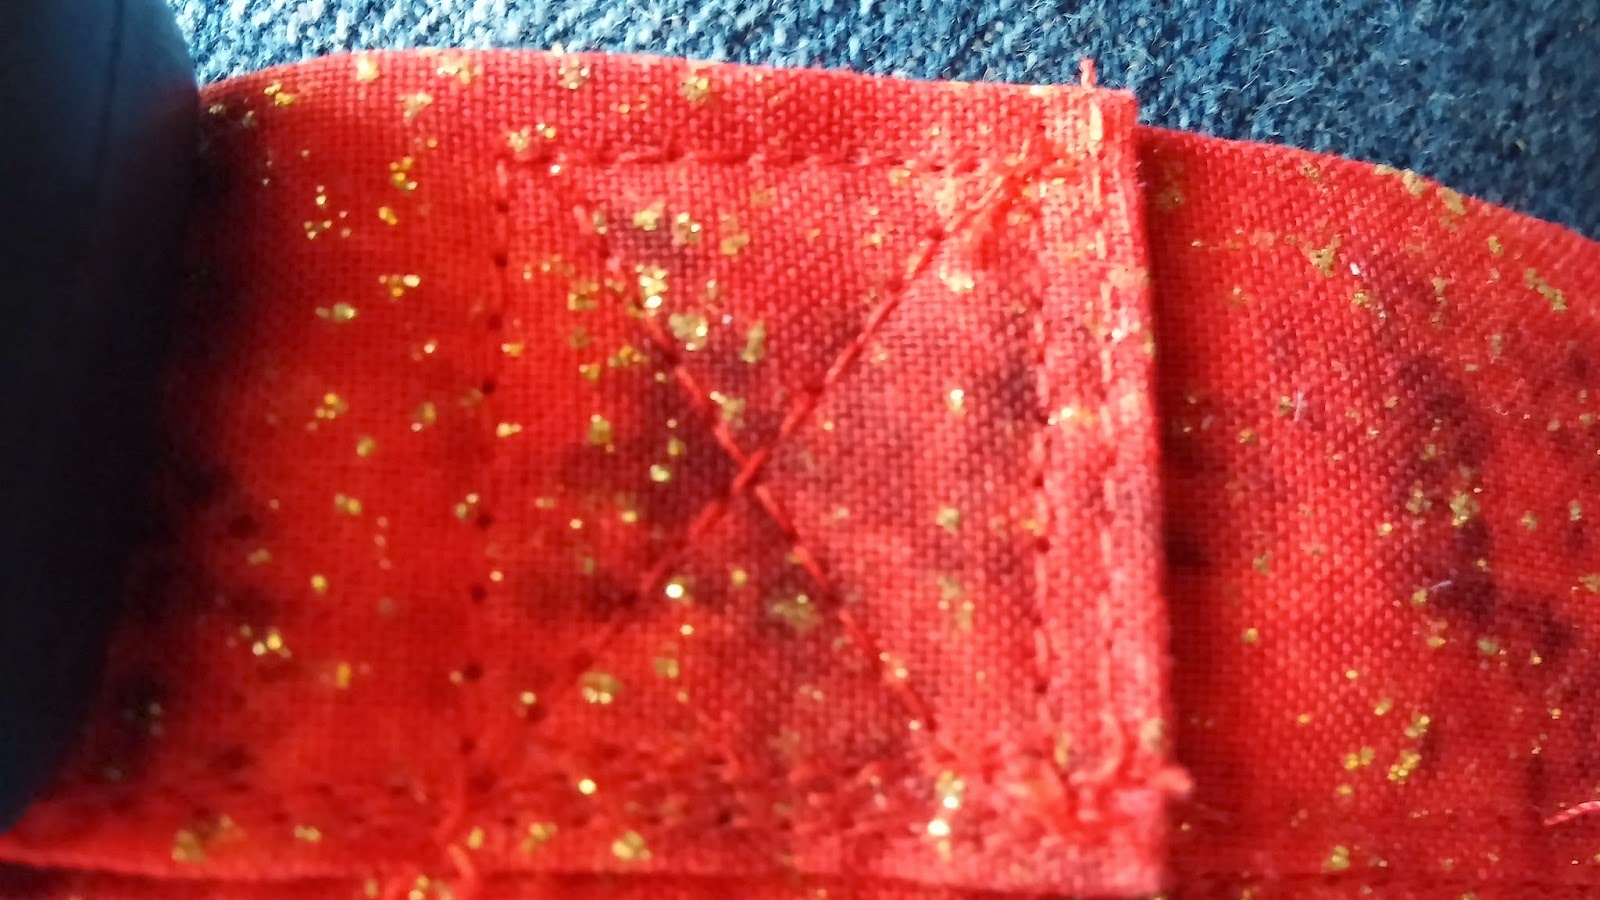 You will need to thread the short strap through the female end of the parachute clip. Once it is threaded through, you will need to have at least 1 1/2" pulled through. To secure the clip to the strap, you will need to sew a box stitch. Sew the strip down by sewing a square and then an X in the middle. It will look like this when you have the box stitch completed. Repeat with the male side of the parachute clip and the long strap.
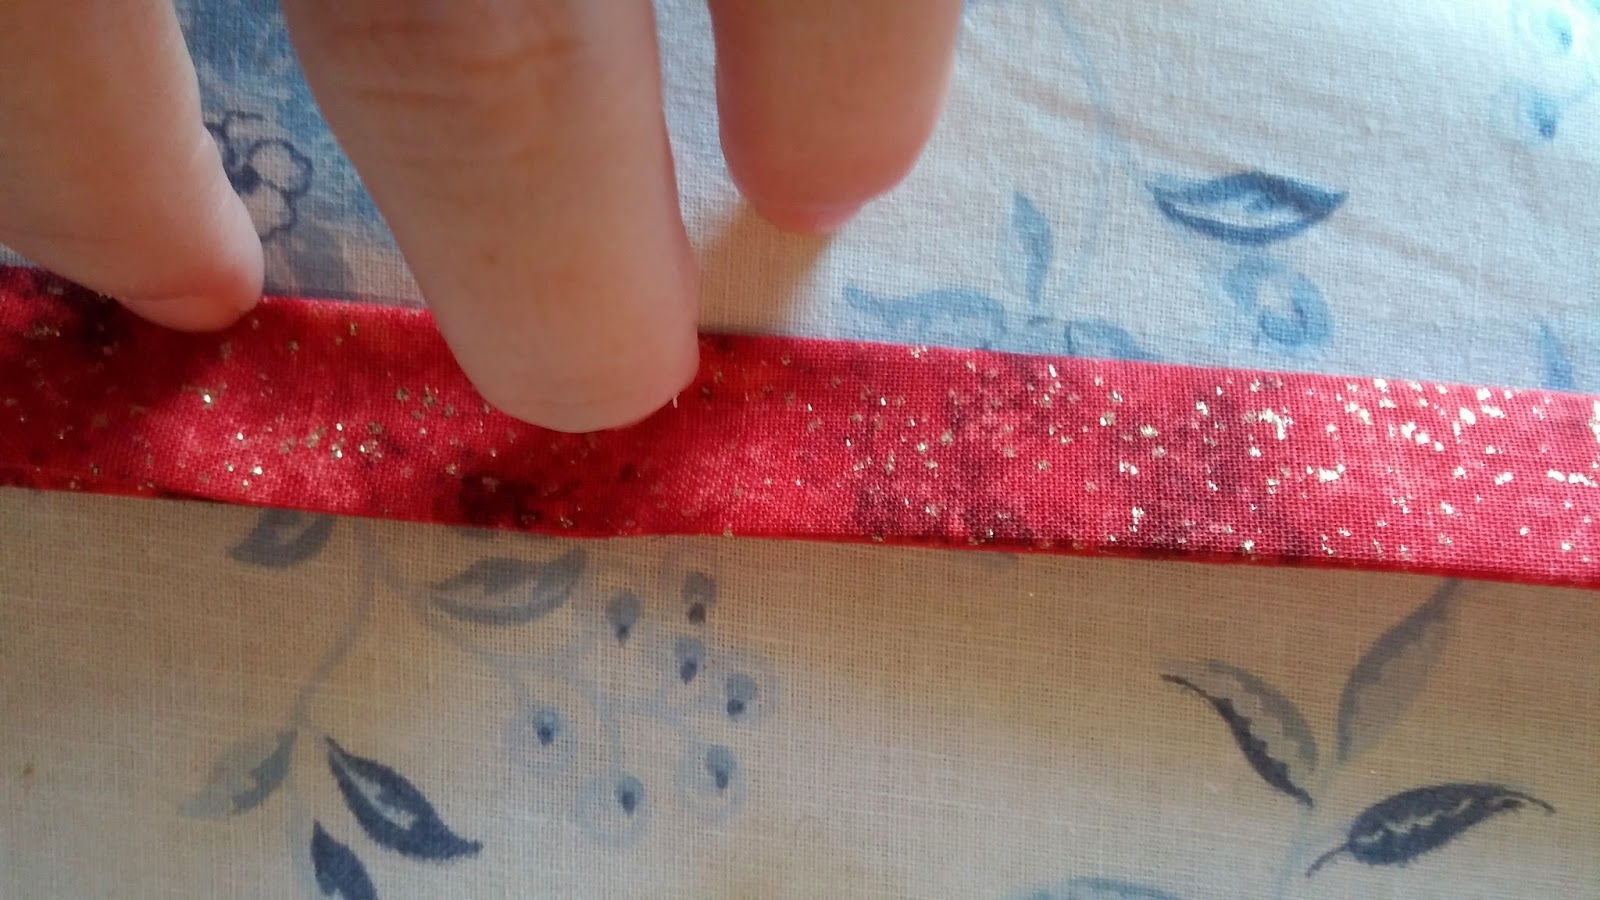
Next, you will need to make the binding to finish the edges of the pockets. Fold the binding in half long ways and iron. Unfold. Fold the long edges to the middle crease. Iron. Fold both of the flaps you just created to make a long skinny strap. Iron to make flat. Sew the long edge together, but leave the ends open.

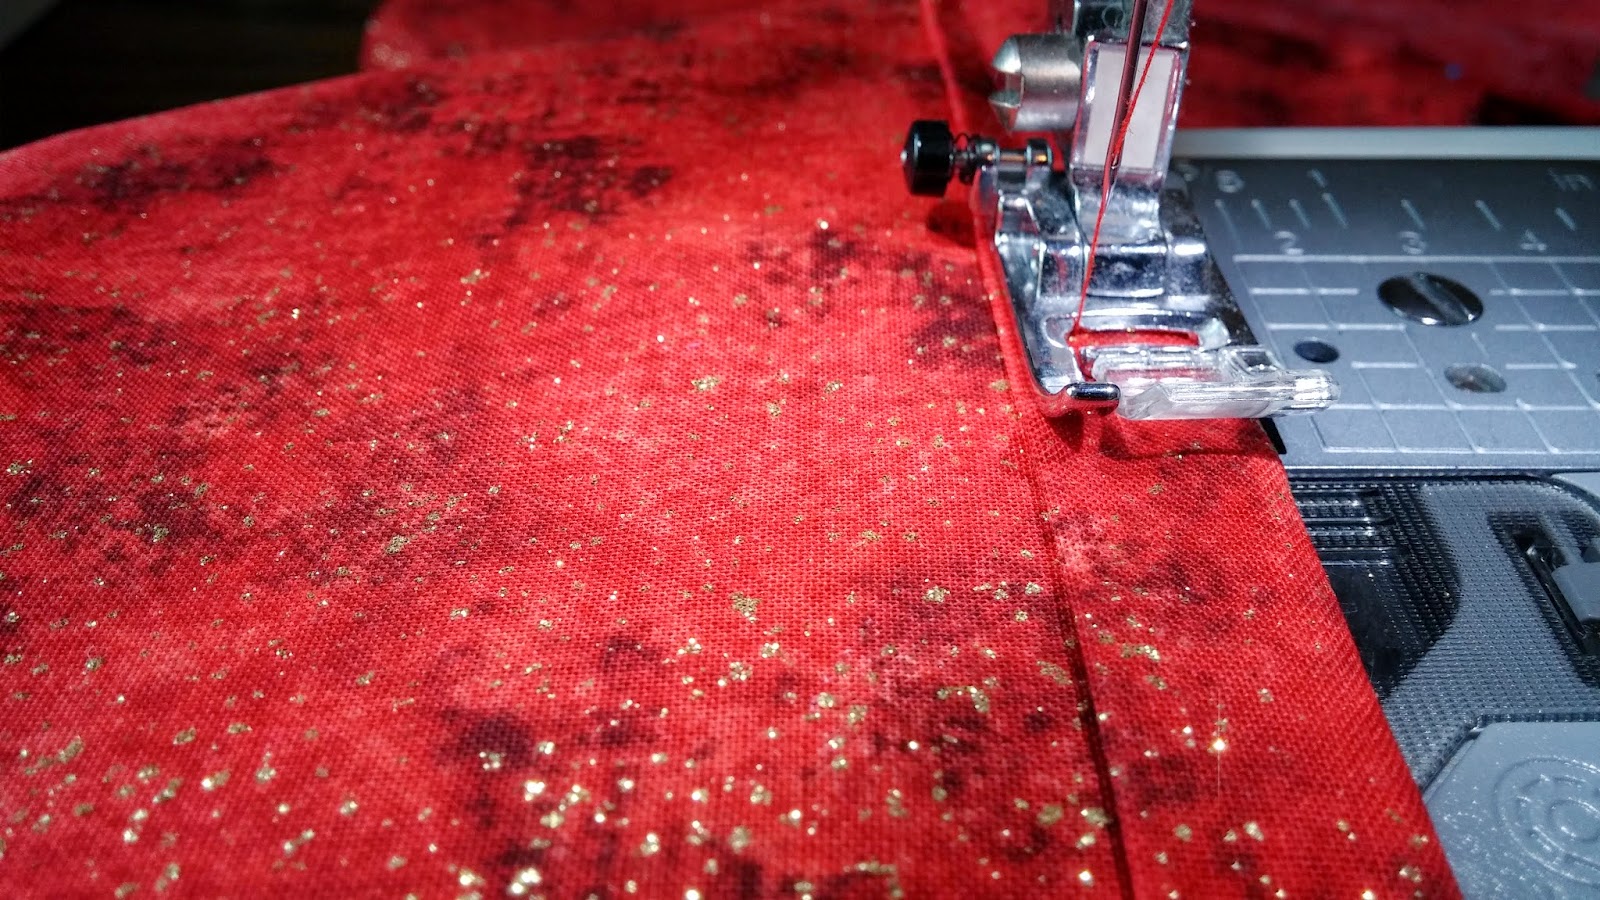 Now you will need to sew the binding to the top of the pockets to finish the top edge. Place the top of edge of both main pockets and front pocket inside of each binding strip. You will sew the pockets inside each of the bindings one at a time. The top edge is the shorter end of the pockets.
 Once you have the top edge of each of the pockets finished, it is time to assemble the bag. Lay one of the main pockets right side up. Place the front pocket right side up on top of the main pocket, lining up the bottom edges. Place the second main pocket on top of the other two right side down. Pin the two sides and bottom so that they will not shift as you sew them together. Leave top open. At the top of each side, I used a zig zag stitch to make sure that it is secure and not come apart as it is used.


Before turning the bag right side out, I sewed the strap to the bag using a box stitch. I sewed one side of the strap near one side seam and the other side of the strap to the opposite side of the bag. Trim the excess binding,


Now all that is left is to turn it right side out and you have a nice trash bag to hang in your car.


No comments:
Post a Comment