Friday, April 18, 2014

Easter Craft - Day 5 - Carrot Playdoh

Alex loves to play with Playdoh.  It is one of his favorite activities to sit in the kitchen floor and do while I am working around the house or taking care of Amelia.  My mom used to make Playdoh all the time when we were growing up to use at the preschool that she taught at.  I have never attempted to make it until tonight but we will no longer buy store bought because it was super easy to make.  It took less than ten minutes to make and most, if not all, of the ingredients are from your pantry.  I had to go out and buy some cream of tartar because that was the one thing that I never use.

Here is the recipe that I used:

2 cups of flour (I used unbleached all purpose flour)
2 tablespoons vegetable oil
1 teaspoon cream of tartar
2 cups of water
1 cup of salt
food coloring ( I used red and yellow to make to carrots orange)


In one bowl, I measure two cups of water and added the food coloring until it looked like a bright orange.

 In a large measuring cup, I measured all of the dry ingredients together.  


I added the oil to a large pot that I had on medium heat.  I then added the water and the dry ingredients.  You will need to stir constantly.


It will take a few minutes for it to thicken but when it does it can be hard to stir.  Once it starts to thicken it happens very quickly.  The whole process took under 10 minutes and it made a lot of Playdoh.


I let the Playdoh cool off and then added to Ziploc baggies and made it into a carrot shape. I tied a lime green bow around the top and it turned into a cute Easter present to give to Alex and my oldest nephew in their Easter baskets.


I like this recipe because even if the two younger ones get into it, it may not taste good but there is nothing that will hurt them in it.

This is a fun activity to use year round to use with any child that loves Playdoh.  I had plenty left over so Alex will have even more when he comes home tomorrow.

Happy Easter!


Thursday, April 17, 2014

Easter Craft - Day 4 - Jesus is Alive!

Today was a quick and easy Easter craft.  We needed to do something fast today with a 9 month only finally getting her second tooth.  She was up a lot last night so everyone is a little tired today in our house.

For today's craft, we decided to talk about how Jesus died on the cross and how he rose again. Jesus died for our sins and rose again so that we can have everlasting life.  Alex has been talking about these things in his Sunday School class and he likes to talk about Jesus.  He is always wanting to go back and work on the letter J because we talked about J is for Jesus that week.


For today's craft, I cut a circle out of construction paper for the ground.  I cut our three crosses out of brown paper and used some scrap green paper for the grass.  We wrote Jesus is alive across the bottom of the circle.  Alex then glued the three crosses at the top of the circle.  We tried really hard to get the crosses to stand up but they just kept falling.  Alex finally glued to grass to the paper.  I think this was he favorite part.

Instead of cutting out a white circle, a paper plate would work great.  I just did not have any paper plates in the pantry.  I am all about adapting and using what you have.  As a former elementary teacher, I have tons of construction paper so that is always easy to grab and use for any craft.  The important thing about the craft is learning about the meaning behind Easter and talking to our children about not just the fun egg hunts.  Although I cannot wait for our Easter egg hunt on Saturday with my two and my two nephews.  I love watching them all play together!


Wednesday, April 16, 2014

Easter Craft - Day 3 - Milk Jug Lamb Easter Basket

Today Alex and I made an Easter basket made from a gallon tea jug, construction paper, glue, and cotton balls.  I found all of these things around the house.  We always have gallon jugs, whether it is milk or water or tea.

To start the project, I rinsed out the jog and peeled off of the stickers from the jug. Then came the part where I needed to cut the jug.  This took me a second to figure out and some time staring at the jug.  I used my husband's knife to start the cut and then a pair of scissors to cut out the rest of the hole for him to collect eggs.  Leave the handle in tact.  That will be needed to help hold the basket when hunting eggs.

Next, Alex glued the face to the front of the jug.  For this, I just cut an oval out of a piece of whitish construction paper.  Then, he glued on eyes and a nose to the face.  Next, came the ears.  He glued to black circles inside the white parts of the ears.  I tried gluing the ears close to the top of the head but there was just not enough support so we glued them to the side of the head.  Finally, we finished our lamb by gluing cotton balls on the ears, face, and around the head.  You can use as many as you want and could cover the whole jug if you want.  Alex only wanted to do the face and around the face.  It turned out really cute and only took a few minutes to make.  So easy, cheap, and adorable for any child to use this Easter!


Tuesday, April 15, 2014

Easter Craft - Day 2 - Jelly Bean prayer tissue paper roll.

Today Alex and I created the Jelly Bean Prayer Tissue Roll craft.  I love this craft because it makes it fun for Alex to learn about the meaning behind Easter on his level and he gets to eat some jelly beans.

I came across this activity at http://www.churchhousecollection.com/jelly-bean-prayer-toilet-paper-roll-easter-craft.php.  I really liked that this site had more religious activities for kids rather just the cutesy stuff.  I love the cutesy stuff but I also want Alex to know that there is more to Easter than bunnies, eggs, and candy.

I started by printing out the black and white template so that Alex could color it himself.
I gathered all of the materials that we would need.  I grabbed a piece of scrap construction paper to make the legs and arms out of and collected all of the colors of crayons we would need.  Alex got the glue and the scissors for out activity.

We colored the toilet paper wrap together first.  He wanted me to help him color all of the jelly beans.  I then let him glue it to the tissue roll.  We then colored the big Jelly Bean that he named Jelly.  (Alex is not the most creative guy when it comes to naming things.  He has a stuffed monkey names money only because when he named it he could not say monkey and a stuffed wolf named wolfie.)  Our new adventure today was having the patience to teach a four year old how to accordien fold the arms and legs. We did that and he did a great job and got that all glued to the roll.  We then colored the little poster for Jelly to hold.  As we did this step we talked about each of the colors and what they meant.  We finally glued the poster into Jelly's arms.

When we finished we talked about the colors again and I let Alex eat some jelly beans.  He wanted the orange ones because that is his favorite color right now.  I enjoyed working on this craft with Alex and talking more about the meaning behind Easter with him.

Layered Taco Dip

One of our favorite go to quick and fun meals is a layered Taco Dip.  We love it.  It is something that you can make your own or follow the recipe.  Alex loves this dip and just eats it with a spoon.  It is so easy and quick to put together.  We made it this weekend because we did not want to turn the stove on because it was so hot outside.  Here is the recipe.  I hope you enjoy as much as we do and feel free to change it up and make it your own!

Layered Taco Dip

Ingredients

  • 2 cans of refried beans (we sometimes use refried black beans - AWESOME!)
  • 16 ounce container of sour cream
  • 8 ounce package of cream cheese, softened
  • 1 package of fajita seasoning (you could use taco seasoning)
  • 1 bunch of green onions, chopped
  • 1 bell pepper, diced
  • 1 can of diced tomatoes (plain or Rotel) or a fresh tomato if they look good in the store that day
  • Shredded lettuce
  • salsa 
  •  shredded cheese ( I don't measure - never too much cheese in our house!)
  1. Mix the beans and the fajita seasoning together and spread onto the bottom of a 9 x 13 dish.
  2. Mix the cream cheese and sour cream together and spread over the beans. ( I thought it was so odd to mix the cream cheese in taco dip but it is so good!)
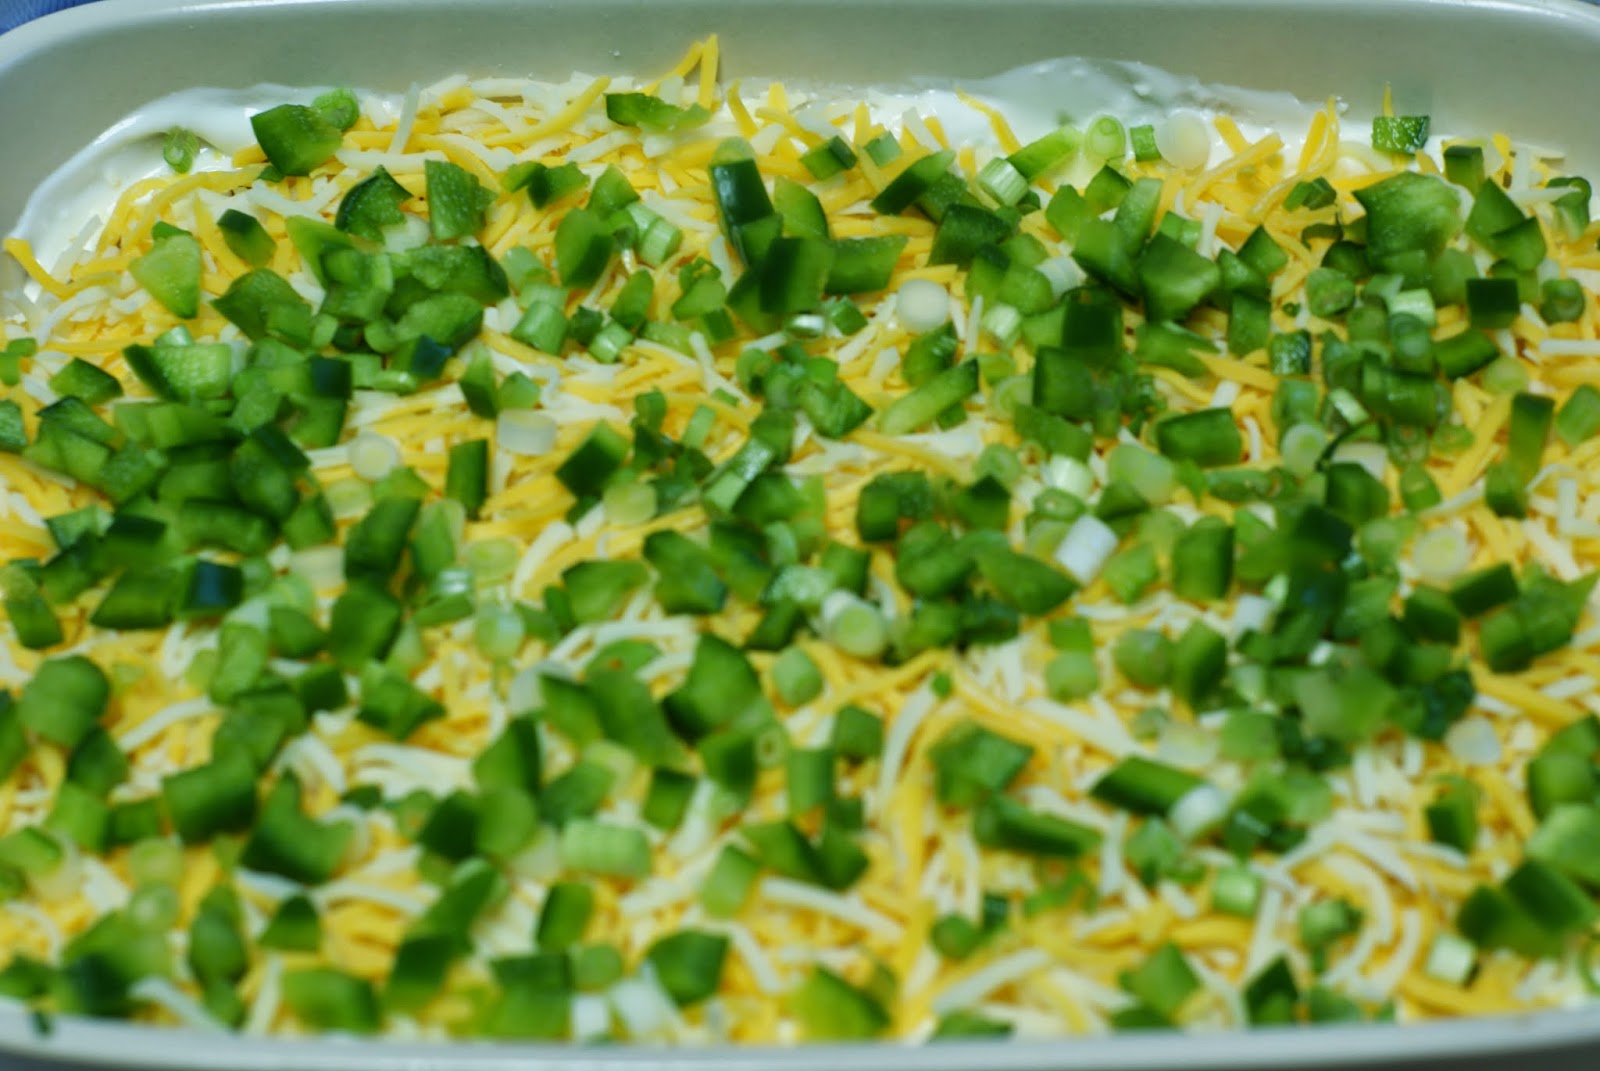
  3. Sprinkle over the onions, pepper, tomatoes, and lettuce over the beans and cream.
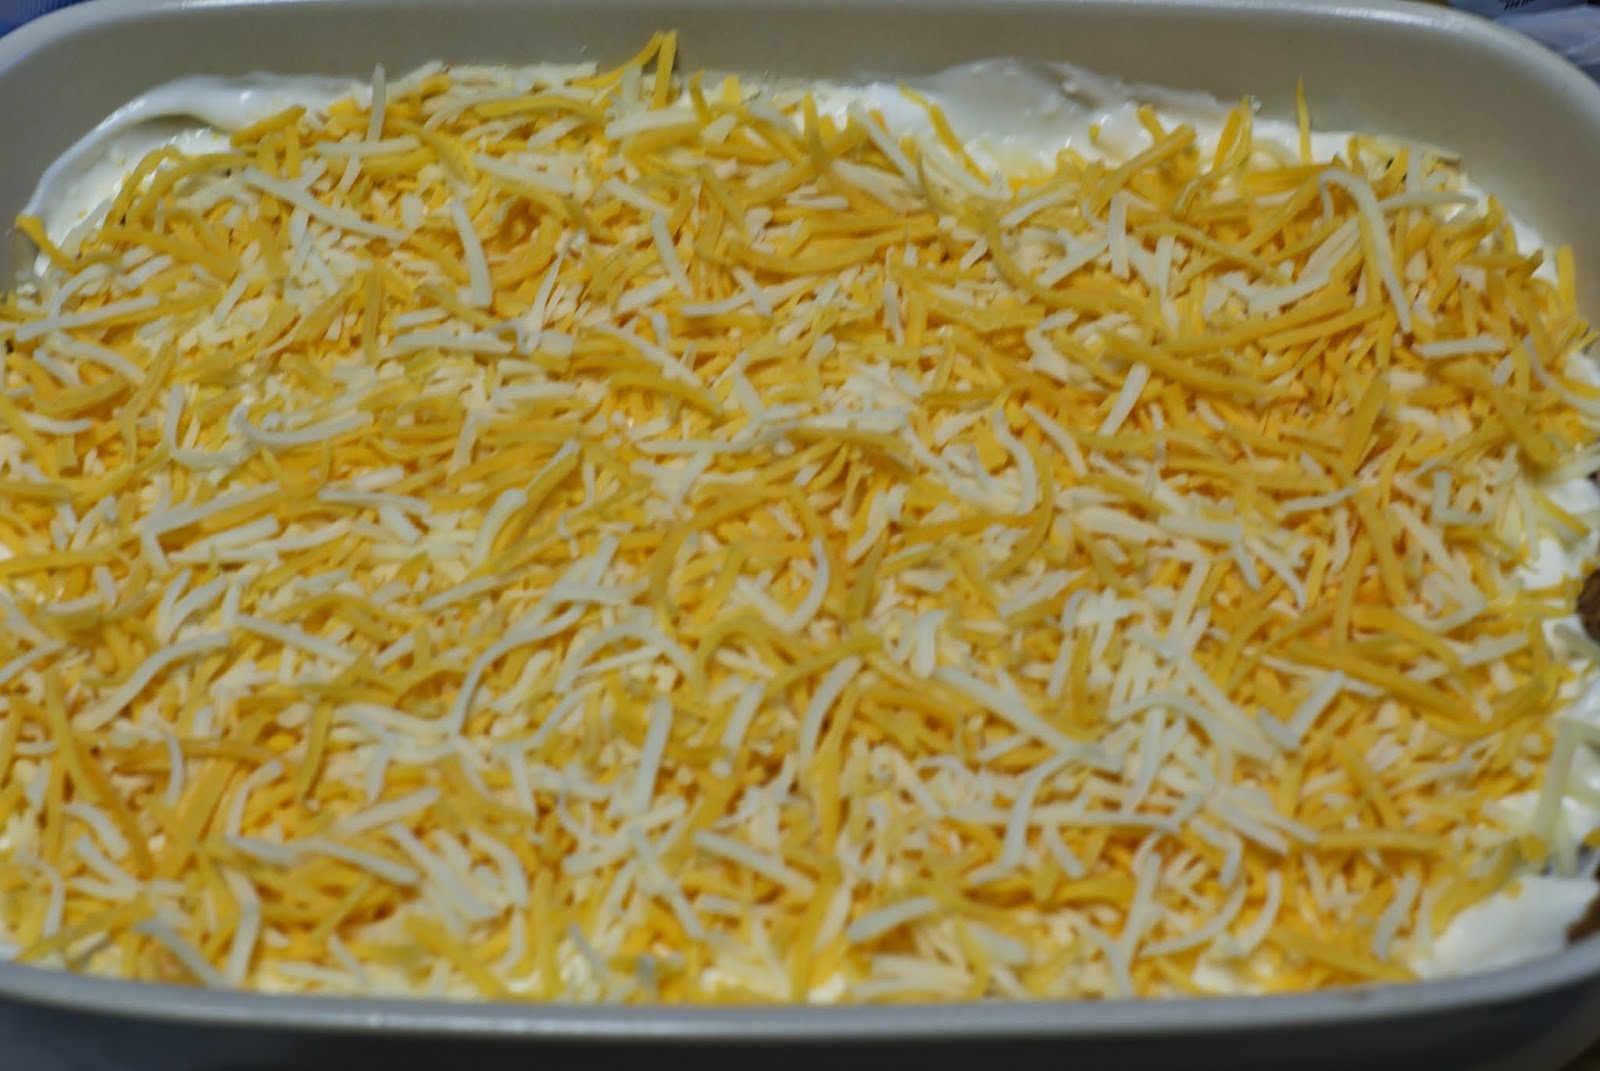
  4. Cover in cheese.  We use a sharp cheddar or Mexican cheese mix.  Add as much or little as you want.
  5. You can then add the salsa if you want.  We put it on the side because Alex does not like anything spicy.  Also, if I use Rotel, I leave a corner without it so that Alex will eat the dip.  
Serve with tortilla chips and enjoy!


Monday, April 14, 2014

Easter Craft - Day 1 - Tissue Paper Egg

As Easter approaches, Alex and I are working on daily Easter crafts along with his preschool letter of the day lessons.  Today, we started by making an Easter egg out of tissue paper and construction paper.

I found some pastel tissue paper in the closet that I had leftover from making a gift and cut it up into squares.  I only used two small strips from a few colors.  I happen to have pastel colors on hand so that is what I used.  You can use whatever you have on hand.  I chose three colors for him to use.

I then cut out an egg shape from a green piece of construction paper.  I gave Alex the glue, tissue paper, and egg and let him have at it.  He loves to use glue!!!

This is a quick and simple craft that you can do with your child.  You should have most if not all that is needed to complete this craft in your closet.   This is my kind of craft since I rarely think ahead to go out and buy all the supplies needed for a very involved project.  Use what you have and have fun with your child!


Saturday, April 12, 2014

DIY Easter Basket from Dollar Tree Items

Easter is quickly approaching and I wanted to have a special Easter basket for Amelia's first Easter. Since she is the only girl between my sister and I (I have Alexander and she has 2 boys) I decided it was going to be a girly one.  It may be one of the few chances that I have to make something super girly for her since there is a good chance she will be a tomboy with all these boys around.

I found a basket that I had laying around the house so I did not have to buy a basket.  I am sure it is a leftover from an Easter past.  I went to the Dollar Tree and bought two rolls of tulle. (I ended up going back for one more roll.)  Each roll had 8 yards and by about 6 inches.  It did not have the width measurements but I would say it was about 6 inches.


I started by cutting up one roll of tulle into strips.  I did about 18 inch strips for my basket.  It ended up being a little long but I would much rather a little long than too short.  I just trimmed off the ends when I finished the basket.

After cutting all the strips, I cut each of the strips in half.  I laid one on top of the other to make it double thickness and a fuller look.  I then folded the strips in half width wise and fed it through the holes at the top of the basket.  I then pulled the ends through the loop of tulle this created and pulled it tight.  I did this until I went all the way around the basket.

It looked kinda white and woody from the handle so I decided to add a little color by wrapping the handle in ribbon.  Alexander picked out a lime greenish color so that is what I used.  I also found the Grograin ribbon at the Dollar tree.  I glued the beginning of the ribbon to the base of the handle and wrapped the whole handle in ribbon.  The roll I bought has 6 yards of ribbon and I did not use all of it for the handle.  It added the pop of color the basket really needed.  I love adding a pop of color to things!


I have to say it turned out great!  Amelia now has a girly Easter basket that can sit next to her while the other run around hunting eggs.  I am sure her daddy or I will help her find a few eggs too.  Or she may just Army crawl around the yard.  ( I swear she is not going to crawl...she is going to take off running one of these days!)  It will be a fun day and I am sure there will be lots of pictures taken that day of her in her frilly dress, frilly socks, and patent leather shoes my mom insisted on buying for her!